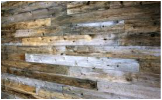
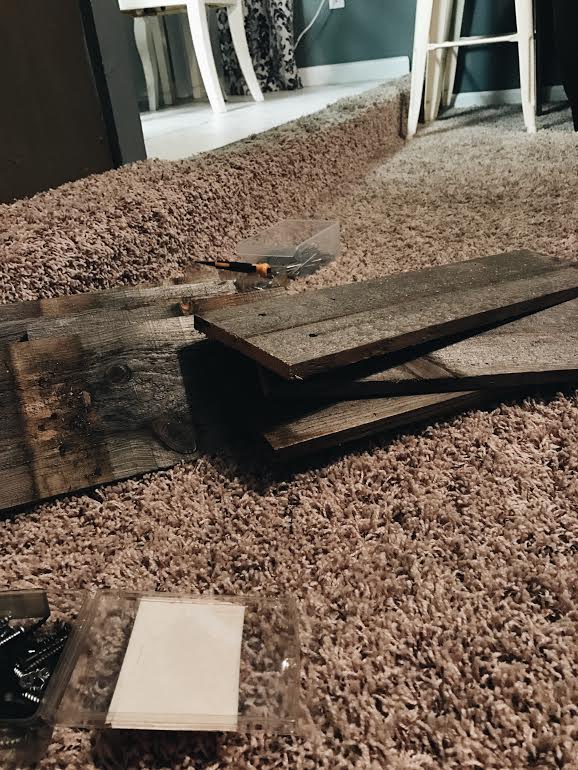
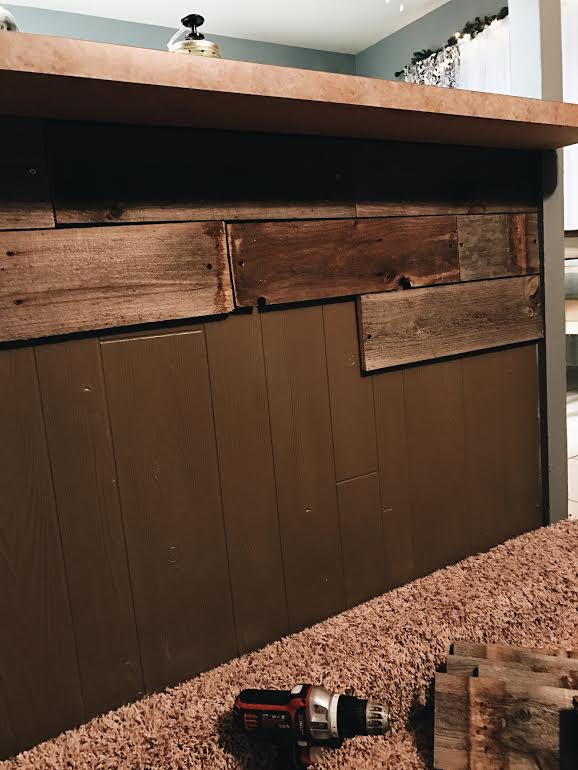
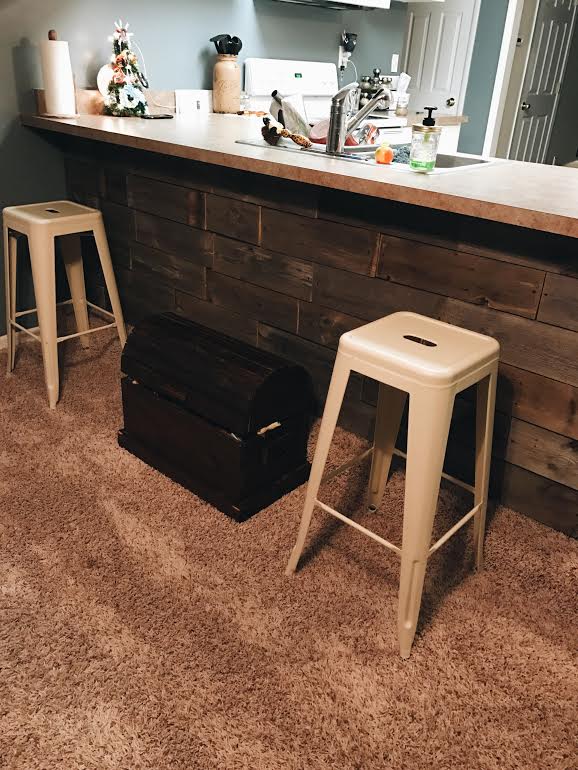
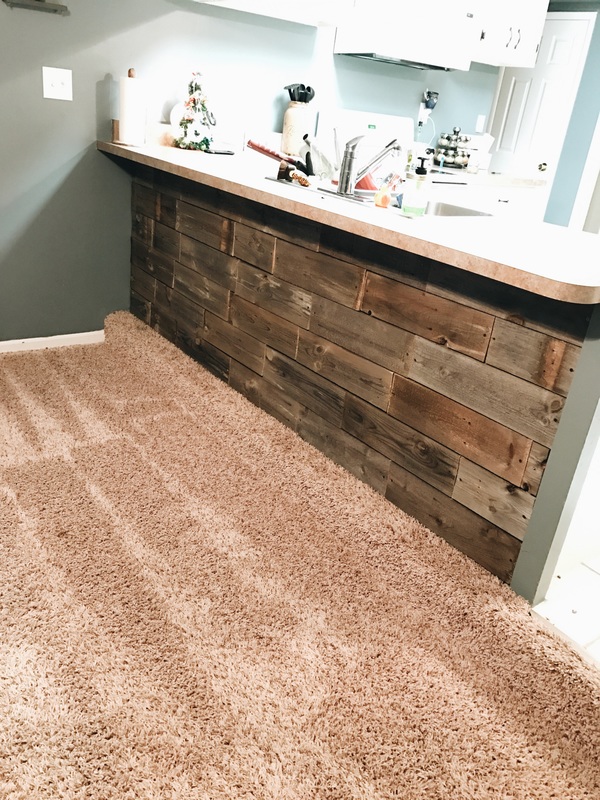
 I am SO excited about my most recent project!! With my husband's help, we took an old fence panel & made a reclaimed wood wall where our kitchen counter bar top is! I had been staring at this darn wall for months not happy with how it looks, but no idea what to do with it. Plus, I always want to change something so I didn't want to tell my husband - poor guy is probably ready to kill me LOL! (obviously not literally!) First I thought tile, then maybe faux brick, maybe ship lap?? I knew I wanted texture & some kind of dimesion so initially thought we could do it with pallets. My husband brought some home & we decided to take a new route - have you ever tried to deconstruct a pallet?? Not an easy feat! Poor guy always helping me with my crazy ideas! 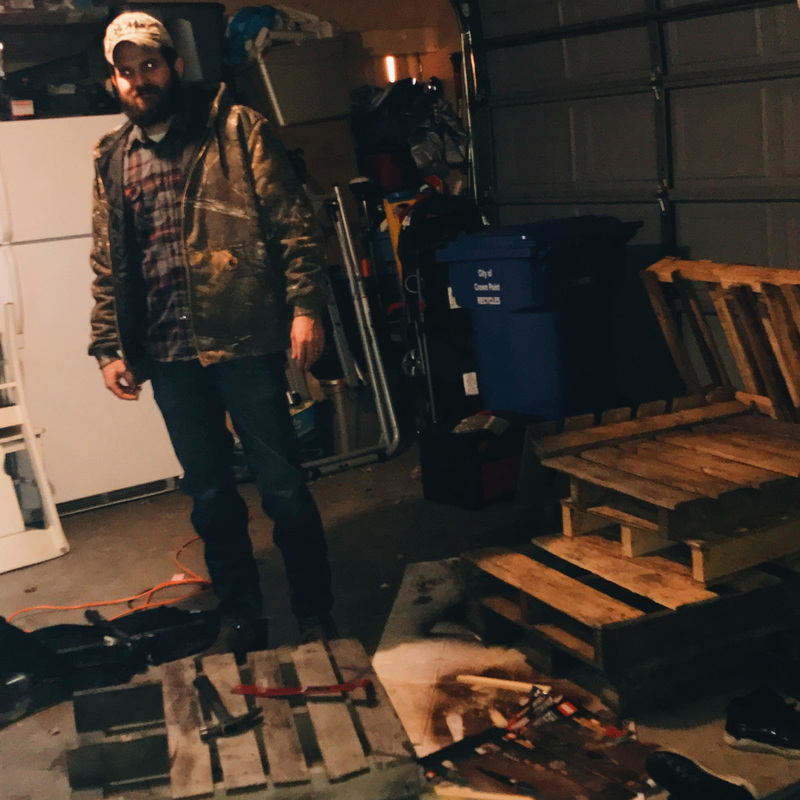 My husband during his attempt to deconstruct the giant pile of pallets that we brought home - what a trooper! How did I get so lucky?? So after all of this we were offered a couple of old privacy fence panels & of course jumped at that opportunity! The deconstruction was MUCH easier and they were all the same width so much easier to align on the wall! Getting started we painted the wall a dark brown (you could also do black) so that the wall creeping through between the wood was not obvious. Then we measured the wall & decided to start cutting the panels into 20 inch pieces & a few 10 inch peices as well. My husband & oldest son got to cutting! Once I had a good little pile to start with I tried hammering them to the wall - that wasn't happening! We had no nails for the nail gun so we went with screws & a drill! I just started at one end & got to drilling. I went through my piles to find the peices of wood with the most character because that's the funnest part of this project - each piece of reclaimed wood has it's own special "design". Because the wall is supposed to have a rustic, farmy kind of feel, there is really no special order that they needed to be attached. I started the top row with a 20 inch board & moved across, the second row I started with a 10 inch piece, just so that everything wasn't completely lined up! The staggering of the boards looks much better!
As the boards were all attached, there were spaces on the ends that were still open so we just measured & cut special sizes to fit those wholes. The final step was to give it a rough sanding just to get rid of the rigid edges. I wanted to keep the character that had been created on this wood over the years (after all that's the point of these reclaimed wood projects right?!) so I didn't over sand, stain or paint the wood at all! What do you think of the final product?! So now that this project is complete, we have a TON of wood in our garage!! We're brainstorming now on our next projects to get rid of some of this wood. We're thinking maybe a reclaimed wood dining room table to coordinate with the wall!?!? Stay tuned to find out!! As always, thanks for reading!! XO, Kathleen
0 Comments
|
KathleenCreator of Our Honeysuckle Homestead. Archives
May 2017
Categories |

 RSS Feed